Affiliate Links: This post may contain affiliate links. Meaning I may get a small commission, at no cost to you, if you decide to make a purchase through my link. Please read my DISCLOSURE for more information.
Spring is in the air! With the recent improvement in the weather here in Alberta I have some serious spring fever. So this week I pulled the kayaks out of storage and began the process of rigging and maintenance for the season. I used the word “process” but the beauty of kayaks over other boats is their simplicity, the only reason I took an hour is because I was busy taking pictures for this post!
Maintenance Checklist:
1. Tighten all screws
I pick a starting point, like a rear handle and start walking around the kayak, tightening screws as I go. Since all the screws are secured in a plastic hull I only snug them up hand tight, no need for power tools here. The screws that loosen most often on my Pilot are the handles, so I check them often.


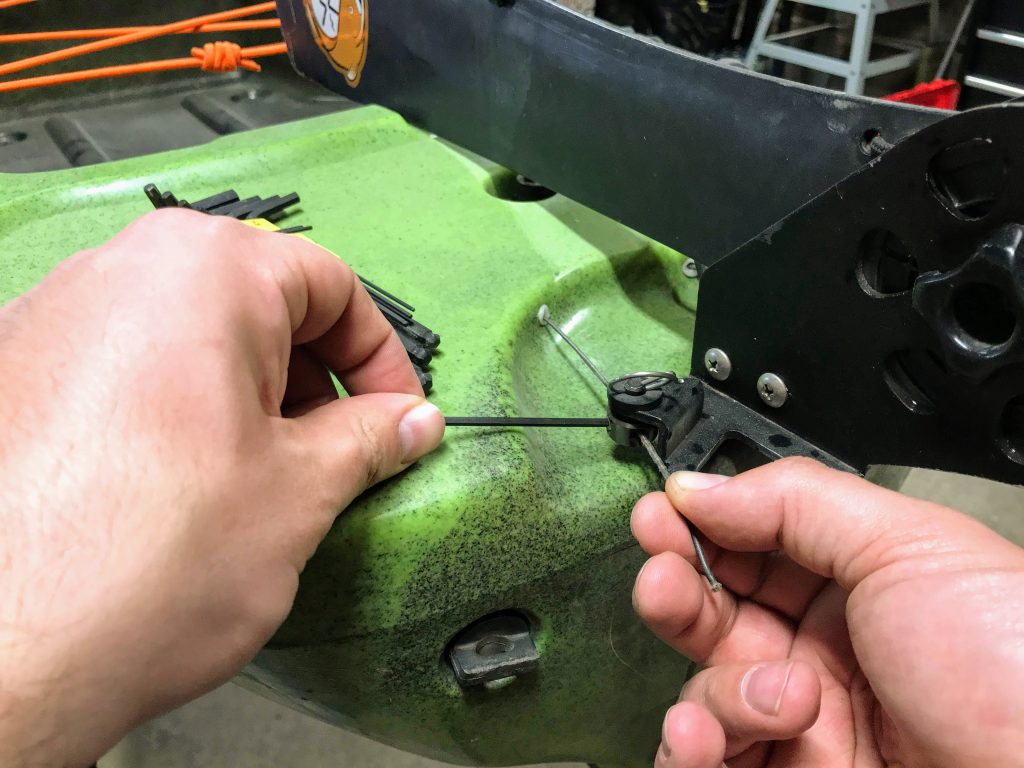
2. Lubricate rudder and tighten rudder cables
First, center rudder control knob and the rudder and then you can loosen the cables using a 3/32 allan key. When re-tightening the screws I put enough tension on the cable to keep it tight but not move the control knob. Once each side is tight I spray everything down with WD-40 Silicon Spray.
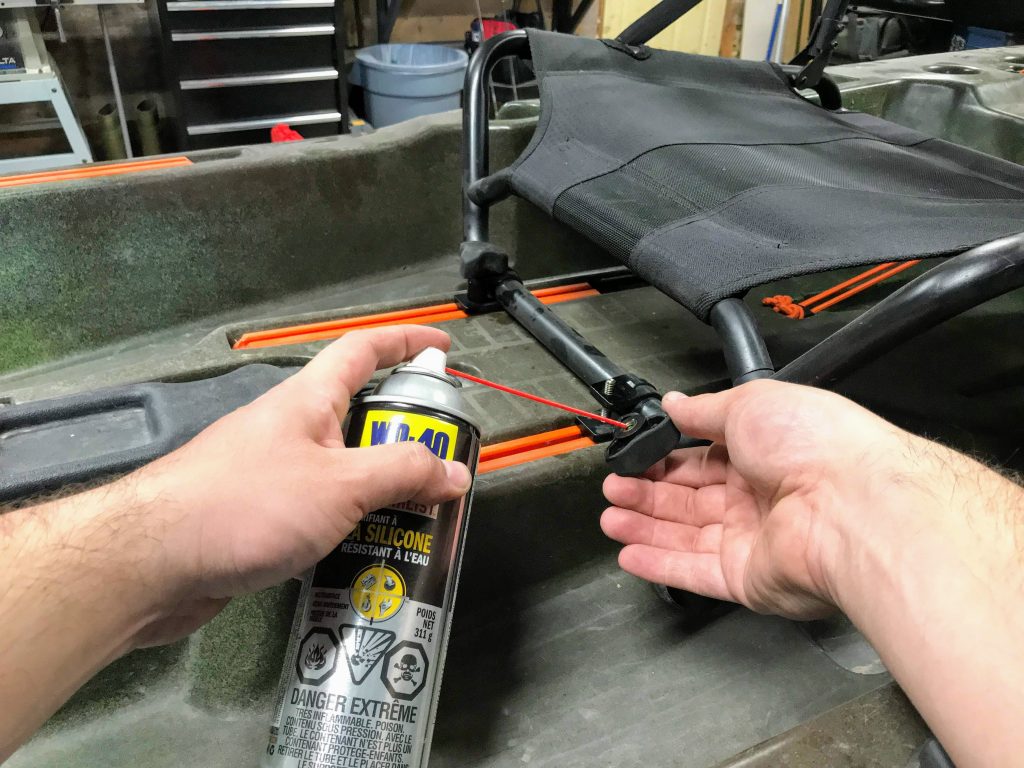
3. Clean and lubricate bolts and tracks for seat
I use WD-40’s Silicone Lubricant spray on almost everything, including on my kayak. It dries fast and, unlike original WD-40, leaves a clear, lubricating film that is dry to the touch. Not a messy, oily film that attracts road dust and grime.
4. Clean prop shaft of debris
I will often check my prop for debris and fishing line throughout the year. Fishing line has been known on other kayaks to work its way into the shaft bearing and damage seals. It’s important to completely remove any line that gets caught up on the shaft. Now is also a good time to make sure the nuts that hold the prop on are good and tight.

5. Check paddle for damage
Check the connection between the paddle blade and the shaft for any signs of cracks or looseness, as well as the center connection of the shafts. At the end of last season I added a paddle holder to keep the ends of my paddle from being dragged underwater. It happened enough times that it became a problem, especially when your hands are full fighting a fish and the wind/current at the same time.

6. Grease pedal drive
I did a pretty detailed pedal drive maintenance post last spring:
7. Check safety kit
In Alberta, all boaters are required to have a heaving line, bailer, whistle, and a flashlight on their boat. I check my kit regularly for mold, repack my throw rope and put fresh batteries in my flashlight. For kayakers, there are many compact kits available. I use the 4 Bailer Throwbag by Northwater:

8. Update fish finder software
A few times a year Humminbird will release software updates for their fish finders. I usually check their website in the spring and fall for the latest releases for my Helix 5.
https://www.humminbird.com/support/software-updates
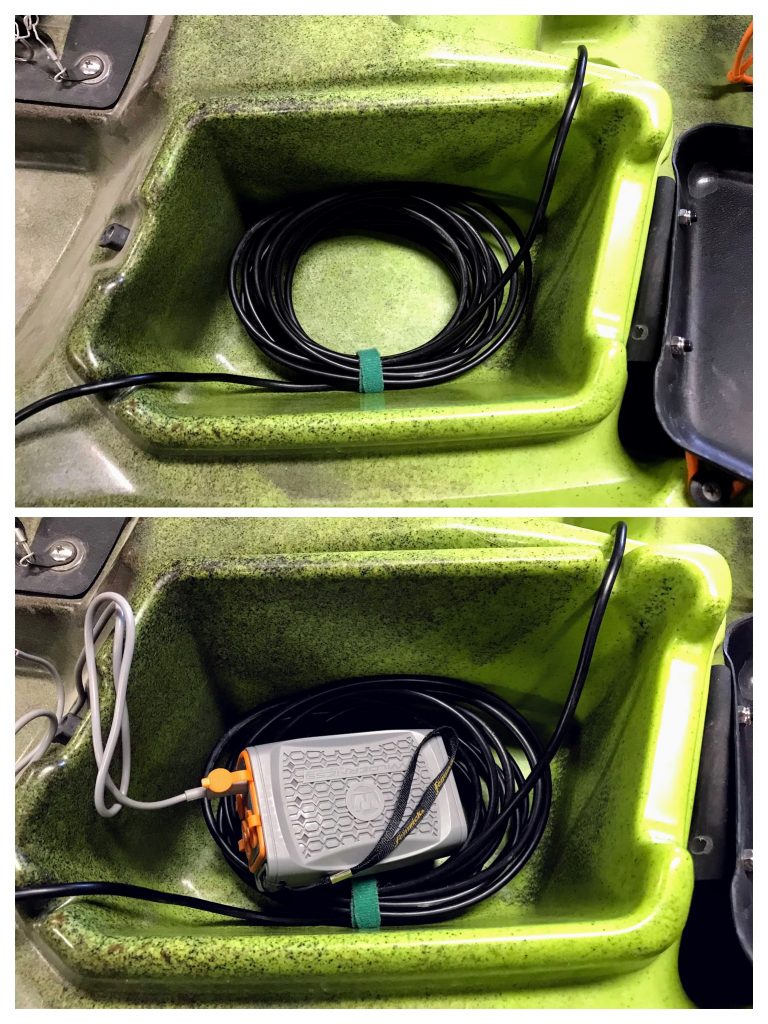
9. Check electrical cables for damage
Cable management requires some creativity on a kayak. Fortunately I haven’t ruined any cables yet but there are some spots that require some attention. I’ve found some strain and cracking where the cable enters the transducer body so I’ve readjusted it and given the cable more slack. I also loop my cables up in one of the top compartments and used cable ties to neatly secure it all.