Affiliate Links: This post may contain affiliate links. Meaning I may get a small commission, at no cost to you, if you decide to make a purchase through my link. Please read my DISCLOSURE for more information.
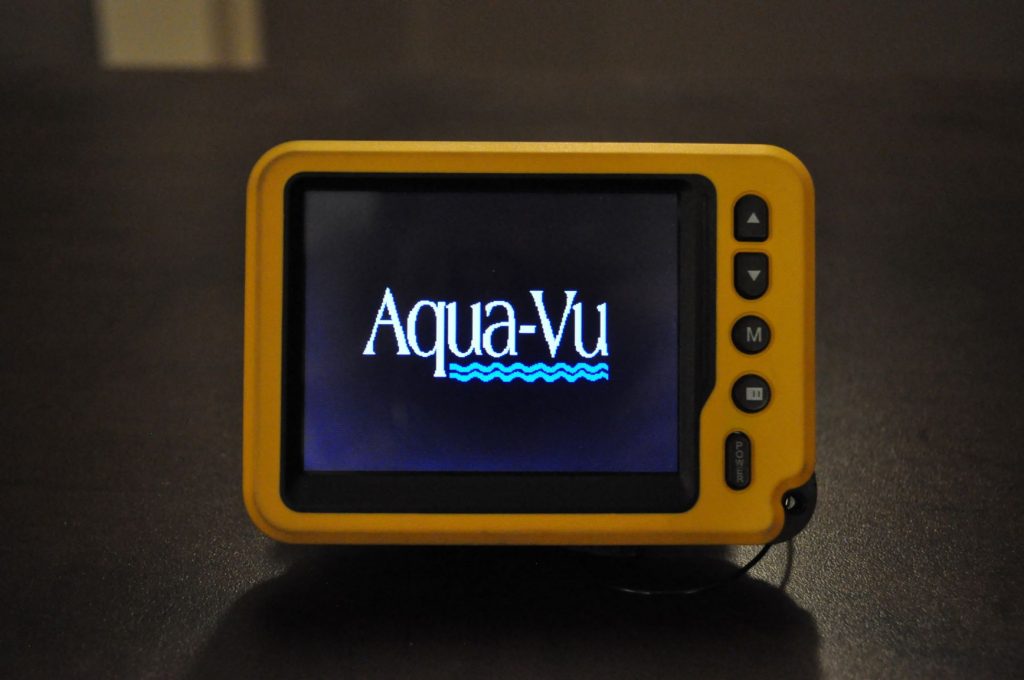
I think the Aqua Vu Micro 2 is an excellent addition to any run and gun anglers arsenal. The unit is the perfect size to store in a large pocket and can be deployed in seconds after drilling a hole. One downside to the micro is that it is not waterproof and I think sooner or later it’s going to go for a swim.
I bought my camera on the local buy and sell from someone who was unaware it was broken. Upon initial inspection it appeared to have some water damage. I bought the unit for a fair price with the idea that if I couldn’t fix it I would at least be able to sell the parts and hopefully keep someone else’s camera alive. Fortunately I was able to fix the Aqua Vu and now I enjoy using it on almost every outing. Here are the steps I took to clean up the camera and diagnose what was broken.
First, the tools you will need:
- Size 0 phillips screwdriver
- Tweezers for holding small wires while soldering
- Soldering iron and solder
- Multimeter
- Q-Tips
- 90% Isopropyl Alcohol
Step 1:
Set the camera on a soft surface to prevent scratches. It is important to remember when working on electronics to dissipate any static charge from your body and work area. Start by removing the camera spool by taking out two small phillips screws on each side of the spool and lifting it off and out of the way.
Step 2:
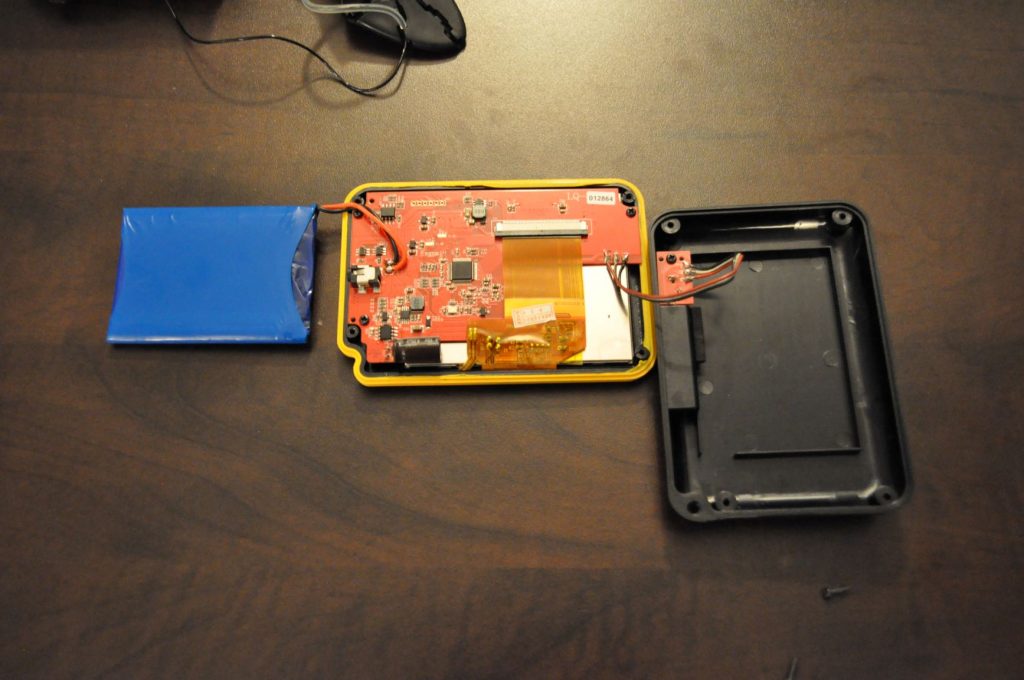
Remove the back panel of the Aqua Vu by removing the four phillips screws from each corner. Be careful not to drop the battery when removing the back panel.
Step 3:
De-solder the battery using the soldering iron and tweezers and be careful not to let the wires touch each other or anything else as the battery still contains power. Cover the ends with electrical tape and set aside.
Step 4:
With the battery removed it is now safe to start cleaning up the corrosion. Using isopropyl alcohol and Q-tips you can start to rub away the corrosion built up around the contacts and the circuit board. For a more detailed write-up on cleaning electronics from water damage check out the iFixit.com link below.
https://www.ifixit.com/Wiki/Electronics_Water_Damage
Step 5:
Check all connections and buttons to make sure they are working properly. If the battery looks like it might have any damage, discoloration or bulging it needs to be replaced. Once you are satisfied everything is cleaned up you can reassemble the camera and assess if any components need to be replaced.
Step 6:
If your camera doesn’t start up as usual then something is broken. The first parts to check would be any capacitors in the circuits. To check a capacitor: remove it from the board using the soldering iron and check the resistance using a multimeter and the following guide:
https://www.ifixit.com/Wiki/Troubleshhoting_logic_board_components
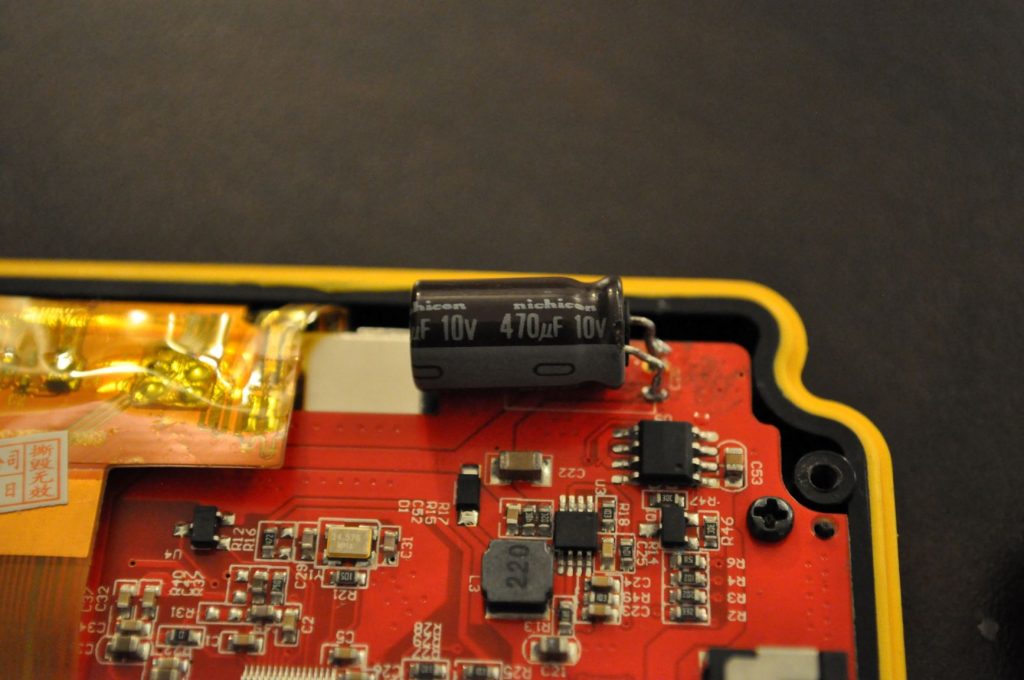
Typically small capacitors are not expensive and any local electronics place will likely have the ones you need. The capacitor in my Aqua Vu Micro 2 was a 470uf capacitor and I found it locally for about $5.
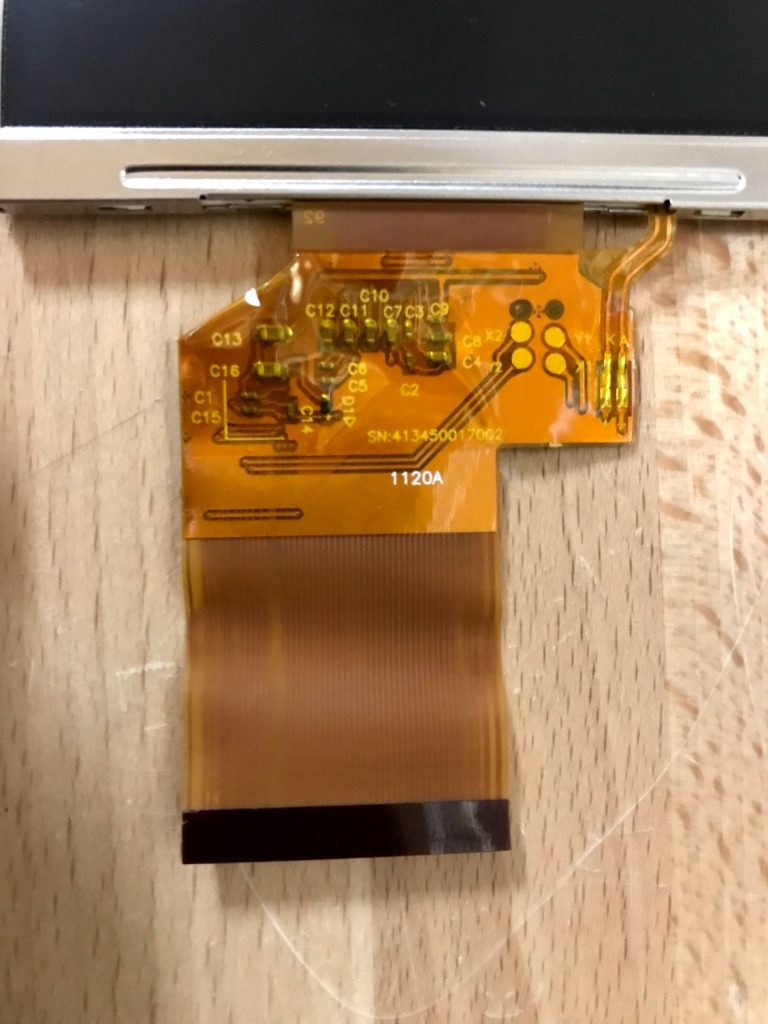
After replacing the capacitor and installing the battery I turned on the unit and found a blank white screen indicating to me the screen was broken. I found a replacement on AliExpress by searching the serial number printed on the displays ribbon cable.
I’m sure Aqua Vu would be happy to take your camera and repair it for you; and if your camera is still under warranty, or has significant damage, then that would be the best option. Since I bought my camera for pennies on the dollar, I had nothing to lose so I decided a DIY repair was worth a shot. I hope that I’ve given you some confidence to take on your own repair, save yourself some money and give new life to something that was otherwise destined for the trash. If you found this guide helpful or managed to repair your own camera, please leave a comment below!
2020 Update:
I’ve been using this same camera all season and the repairs are still holding up. I’m pretty glad I gave the diy repair a shot, hopefully you do too.
I hope your repair went well but if it didn’t you can help out the site by making the purchase of your new camera through the link below:


Good day i had read your post, so im just wondering where do you purchase your replacement parts? I have a micro 2 just like in this post an ive been wondering all the net looking for a replacement with no success, Aqua-Vu dont carry this part either.
Hi Kelvin. I believe I found the replacement screen from EBay or Ali Express. There was a product code on my screen that I was able to search and find from a reseller. The replacement capacitors came from a local TV repair company. This was a more advanced project than I think the average person would want to take on so I wish you all the best!